Do you have a favorite song that you just can’t stop listening to? Well, you don’t have to! Make it your ringtone and listen to it every time someone rings you. But if you are an iPhone user like me, creating ringtones out of MP3 songs may sound like a huge deal to you.
However, it’s not that difficult if you really understand the process to convert MP3 to ringtone iPhone. You can either convert MP3 to iPhone ringtone using iTunes or a third-party app.
Table of Contents
How to Convert MP3 to Ringtone with iTunes
Before We Begin…
✅ Make sure you have the latest version of iTunes downloaded and installed on your computer.
✅ Make sure your iOS app has the latest iOS installed.
✅ Make sure you have your iPhone and its USB cable nearby.
✅ Make sure the MP3 song file is on your computer.
Once you have met all the above-mentioned criteria, you can move forward and start converting your MP3 file into ringtone using iTunes. Follow these steps:
Step 1: Import MP3 File to iTunes
The first step to convert MP3 to ringtones is to first add the MP3 file to iTunes. To do this, open iTunes on your PC and from the top right corner, click on the File tab. Next, click on Add to Library. Now navigate to the location of your MP3 file and select the song that you want to import to iTunes.
Step 2: Trim Down Your MP3 File to 30 Seconds
Once you have added the MP3 file to iTunes, the next step is to trim it. In iTunes, click on the Songs tab from the left side panel and then right-click on the newly added MP3 file. From the resulting drop-down list, click on Song Info > Options.
Next, click on the checkbox that is next to the start and stop option and then enter the start and stop timestamp of the song. Remember that this needs to be within 30 seconds as that’s the maximum limit for iPhone ringtones.
Finally, click on OK to save the trimmed song.
Step 3: Convert MP3 to AAC
Now that you have trimmed the song to the 30-second ringtone length, you will need to convert it to AAC. From the top left corner, go to the File tab and select Convert from the drop-down list. Next, click on Create AAC Version.
After a short while, you will find a new song file in your iTunes library.
Step 4: Rename the AAC File into M4R File
Once you have converted MP3 to AAC, the new song file that appears in your iTunes library will be in the M4A format. Whereas the Apple supported format for ringtones is the M4R format. So you will need to convert M4A to M4R.
But don’t worry. It’s not very complicated. You will just need to rename the file by going to the Songs tab in iTunes and right-clicking on the modified track. From the resulting list, select Show in Windows Explore and then press F2. The file extension will be changed to M4R from M4A.
But in the rare case that you cannot see the file extension, go to the View tab and then click on the checkbox that appears right next to File name extensions to show the file extensions.
Step 5: Sync Your Ringtone with iPhone
Now that your M4R file is all set to be transferred, it’s time to sync it with your iPhone. Drag and drop the M4R file to your PC’s desktop and then connect your iPhone to your PC using a USB cable.
Next, go to iTunes and click on Devices. Choose Tones from the extended list of options and then drag and drop the M4R ringtone into this Tones section.
If you are unable to drag and drop, you can try the old school way and copy and paste the M4R ringtone in the Tones section.
Once you are done, click on Sync in the bottom of the window to send the ringtone to your iPhone.
Step 6: Set Your New Ringtone on iPhone
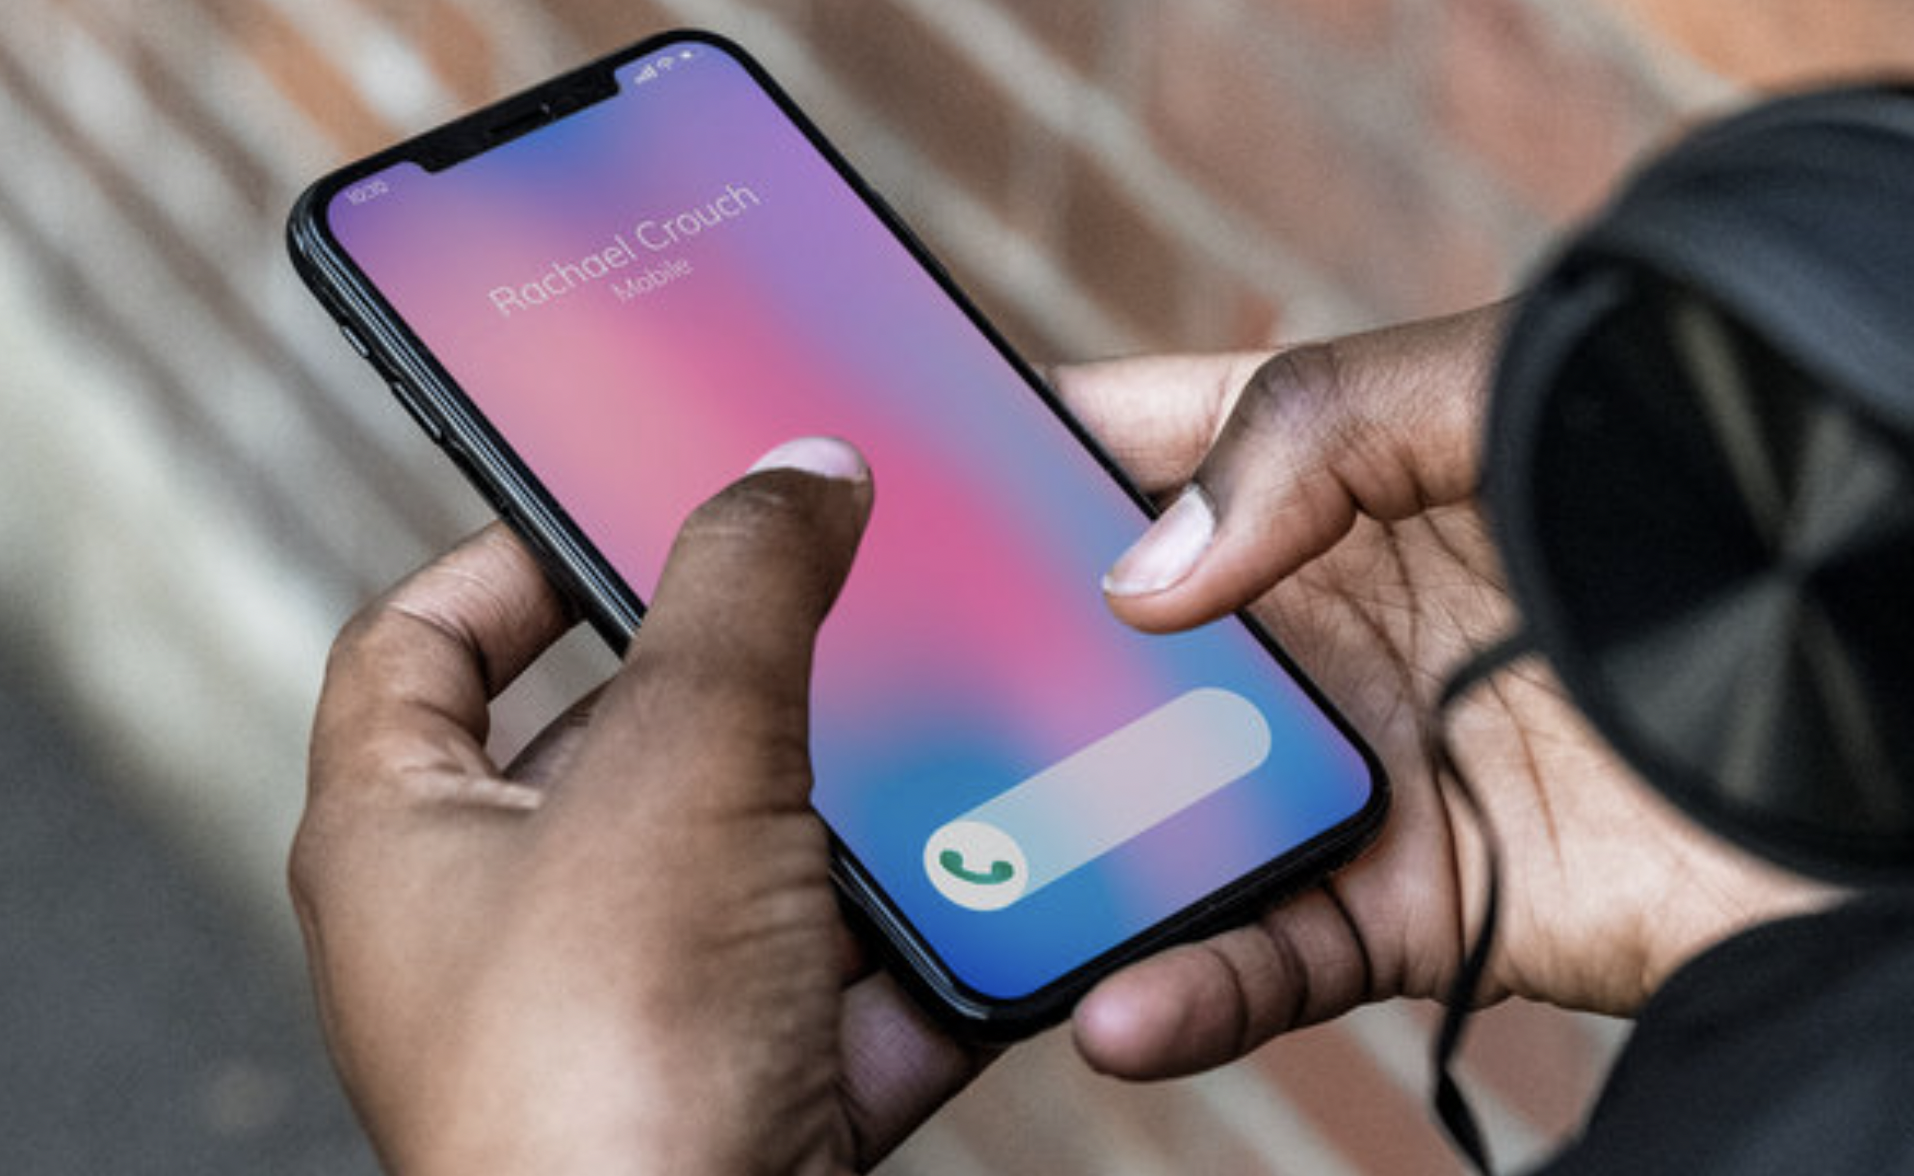
To find and set the newly transferred ringtone as your default ringtone in iPhone, go to your iPhone’s Settings > Sounds & Haptics > Ringtone You will find the custom ringtone at the top. Tap on it to set it as your ringtone.
Conclusion
That’s how to convert MP3 to ringtone with iTunes. However, if you find these six steps too complicated, you can always try a third-party app like WALTR 2. WALTR 2 effortlessly transfers your ringtones to iPhone in just two steps.
Alternatively, you can also use a custom iOS ringtone maker like iRingg to create and send custom ringtones to your iPhone. iRingg lets you download, convert, and send custom ringtones from YouTube and SoundCloud to iPhone.