When it comes down to choosing a logo for your company and identifying what your brand identity is, the first thing you will need to do is find a symbol or design that represents you.
This can be done through much research, trial and error. This article will show you steps on how to design free logos using adobe spark.
Table of Contents
1. Finding the Right Logo
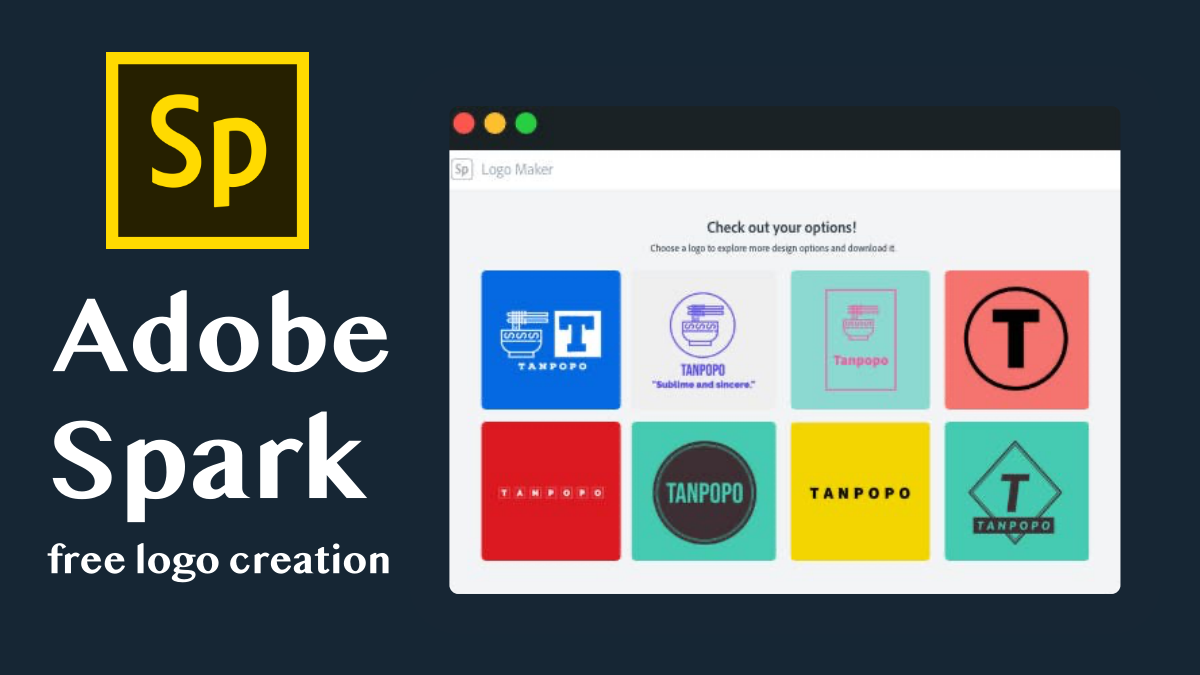
The first step in finding the right logo is by handpicking different logos and running them through a logo psychology test. You’ll do this by looking at how much attention the logo receives and how measurable the logos are. Adobe Spark logo maker will help you to see which icons and designs you like best.
2. Making a List of Logos
After you begin to narrow the field of which logo you like, then it is time to pick what you feel will best represent your company. You can then narrow down the choices by thinking about what your company does and how they want to be perceived. After this, rank them from top choice to down until you have come up with a handful of different logos.
3. Determining Your Brand
Now that you have narrowed down which one is best to represent your brand, you will want to determine if the logo is something that will be easily recognizable. You will want to come up with a list of words or phrases that describe your business and then place them next to each other to see how they look. Sometimes, just changing one word in the description can change how the logo looks.
4. Placing the Logo
When it comes to placing your logo, you will want to make sure that it gets placed in an area where it will stand out. The easiest way to do this is to place it on dark-colored clothing or other dark backgrounds. You will then want to determine if the text color is easy for people to read and if it stands out among other words or phrases.
5. Choosing Colors
When choosing your colors, you will want to be sure that the colors are complimentary. That is that they are both in the same color family or are opposites of each other.
6. Choosing Fonts
When it comes to fonts, you will choose between two different types of fonts. The first option is a serif font, and the second option is a sans-serif font. A serif font tends to be more formal and has varying widths. A serif font also uses ascenders and descenders. Your design should then be lined up side by side with another serif logo to ensure they look good together.
7. Testing Your Logo
Once you have chosen the final design of your logo, you will want to test it out. You will want to make sure that people can see the logo correctly and read any words or phrases on the logo. You should also test it out in photographs, pictures, and other mediums.
8. Creating Logo
After you have tested your logo, you will want to save it as a high-resolution image. You will then need to go through different options for creating a logo for your company. You will upload the logo from your computer or a file on a memory card. Whether you decide to make it a vector image or a raster image, the outcome should be the same.
When you embark on your journey in creating logos, it is important to understand that it may take some time before you find the perfect emblem for your business. However, if you want to design free logos, using adobe spark logo maker is the best decision.